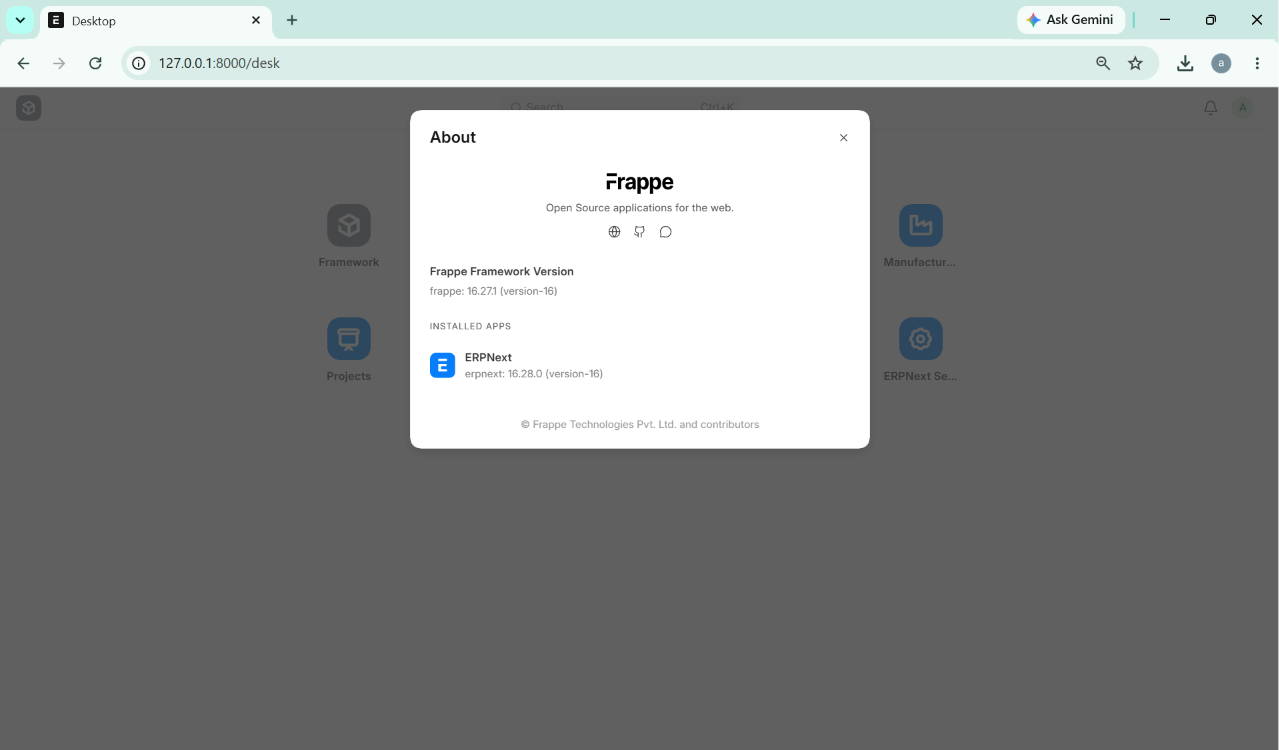
Blog article
How to Set Up Frappe Development Environment on Windows
Learn how to install and configure the complete Frappe v16 development environment on Windows using WSL and Ubuntu 24.04. This guide covers Python, Node.js, MariaDB, Redis, Bench, ERPNext installation, and all required dependencies.
Page details
- Category: Frappe
- Tags: Frappe-v16,Installation
- Published on: 21-07-2026
Content
Prerequisites
Before starting, make sure you have the following:
- Windows 11 (WSL is built-in, no separate install needed)
- Stable internet connection
- At least 10 GB free disk space
- Administrator access on your PC
What is Frappe?
Frappe is a full-stack web application framework built on Python and JavaScript. It is the foundation on which ERPNext - one of the world's most popular open-source ERP systems - is built.
Setting up a Frappe development environment on Windows requires WSL (Windows Subsystem for Linux) because Frappe's CLI tool, Bench, is designed for Unix/Linux systems and does not run natively on Windows.
Version Requirements for Frappe v16
Make sure to use the correct versions. Using wrong versions is the most common reason installations fail.
| Component | Required Version | Component | Required Version |
|---|---|---|---|
| Ubuntu | 24.04 LTS | Python | 3.14 |
| Node.js | 24.x | MariaDB | 10.6+ |
| Bench | 5.x | Redis | 5+ |
Installing Other Frappe Versions
This guide is written for Frappe v16, but you can install other versions by changing the branch and dependencies accordingly. Here is a quick reference:
| Frappe Version | Ubuntu | Python | Node.js | Bench Init Command |
|---|---|---|---|---|
| v14 | 22.04 | 3.10 | 16 or 18 | bench init --frappe-branch version-14 --python python3.10 frappe-bench |
| v15 | 22.04 | 3.11 | 18 or 20 | bench init --frappe-branch version-15 --python python3.11 frappe-bench |
| v16 (This Guide) | 24.04 | 3.14 | 24 | bench init --frappe-branch version-16 --python python3.14 frappe-bench |
You can also install different ERPNext versions using the same branch flag:
bench get-app --branch version-14 erpnext
bench get-app --branch version-15 erpnext
bench get-app --branch version-16 erpnextEnable WSL on Windows 11
Open PowerShell as Administrator (right-click the Start button → Windows Terminal (Admin) or PowerShell (Admin)) and run the following commands one by one.
1.1 Enable WSL
dism.exe /online /enable-feature /featurename:Microsoft-Windows-Subsystem-Linux /all /norestart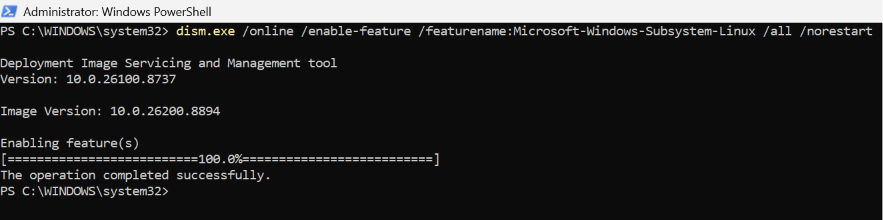
1.2 Enable Virtual Machine Platform
dism.exe /online /enable-feature /featurename:VirtualMachinePlatform /all /norestart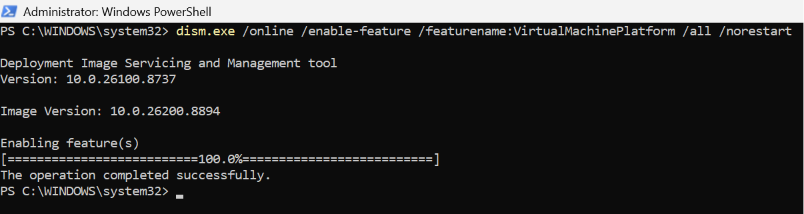
1.3 Set WSL Version to 2
wsl --set-default-version 2
1.4 Update WSL
wsl --update
Install Ubuntu 24.04
After Windows restarts, open PowerShell as Administrator again.
2.1 Install Ubuntu 24.04
wsl --install -d Ubuntu-24.04This will download and install Ubuntu 24.04 automatically. It may take a few minutes depending on your internet speed.
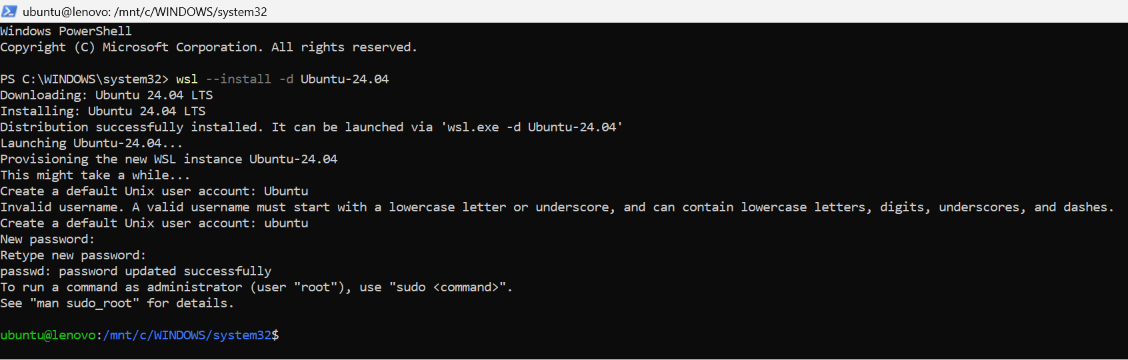
2.2 Set Up Username and Password
Once installation is complete, Ubuntu will launch automatically and ask you to create a Linux user account:
- Enter a username (e.g. ubuntu) - must be lowercase
- Enter a password - nothing shows on screen while typing. This is normal
- Retype the password to confirm
sudo commands.2.3 Verify Ubuntu Version
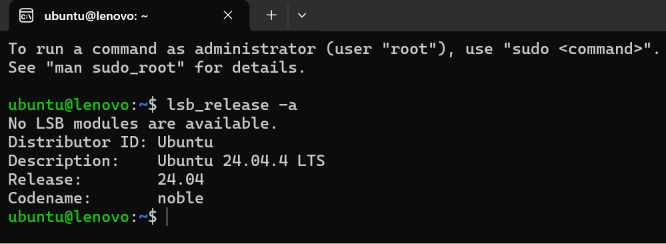
Once setup is complete, you will be inside the Ubuntu terminal. Run this to confirm the version:
lsb_release -aExpected output: Ubuntu 24.04 LTS
System Update
Open the Ubuntu terminal (search "Ubuntu" in Start menu) and run these commands to update all system packages to their latest versions before installing anything:
sudo apt update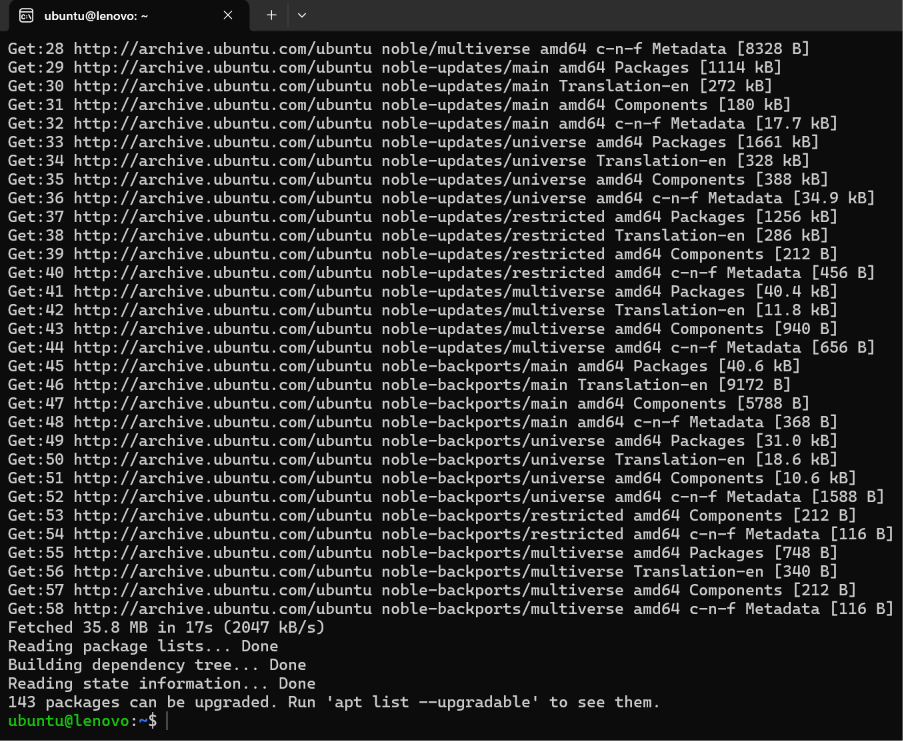
sudo apt upgrade -y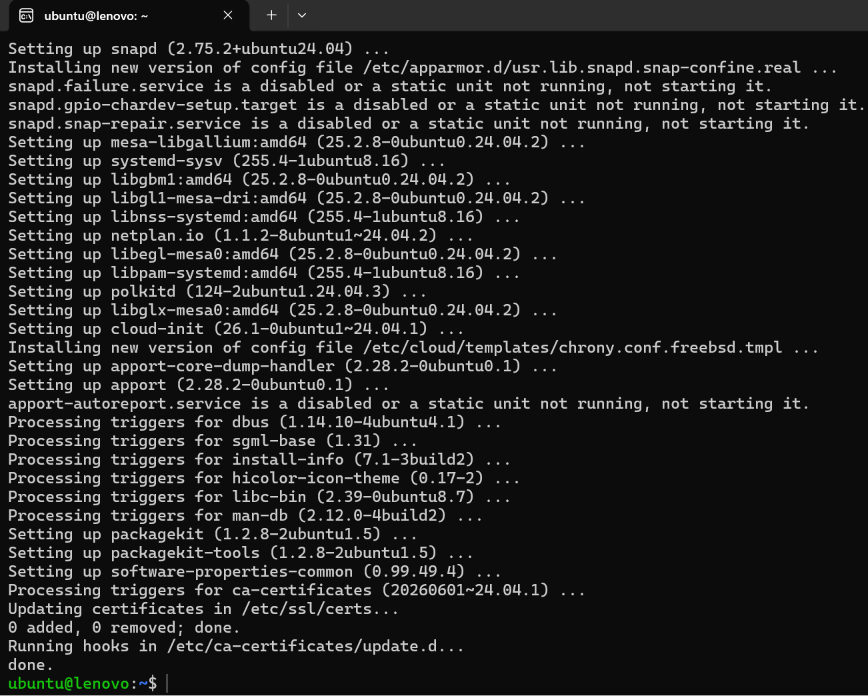
Install Python 3.14
Frappe v16 requires Python 3.14 specifically. Ubuntu 24.04 comes with Python 3.12 by default, so we need to add the deadsnakes PPA - a trusted repository that provides newer Python versions for Ubuntu.
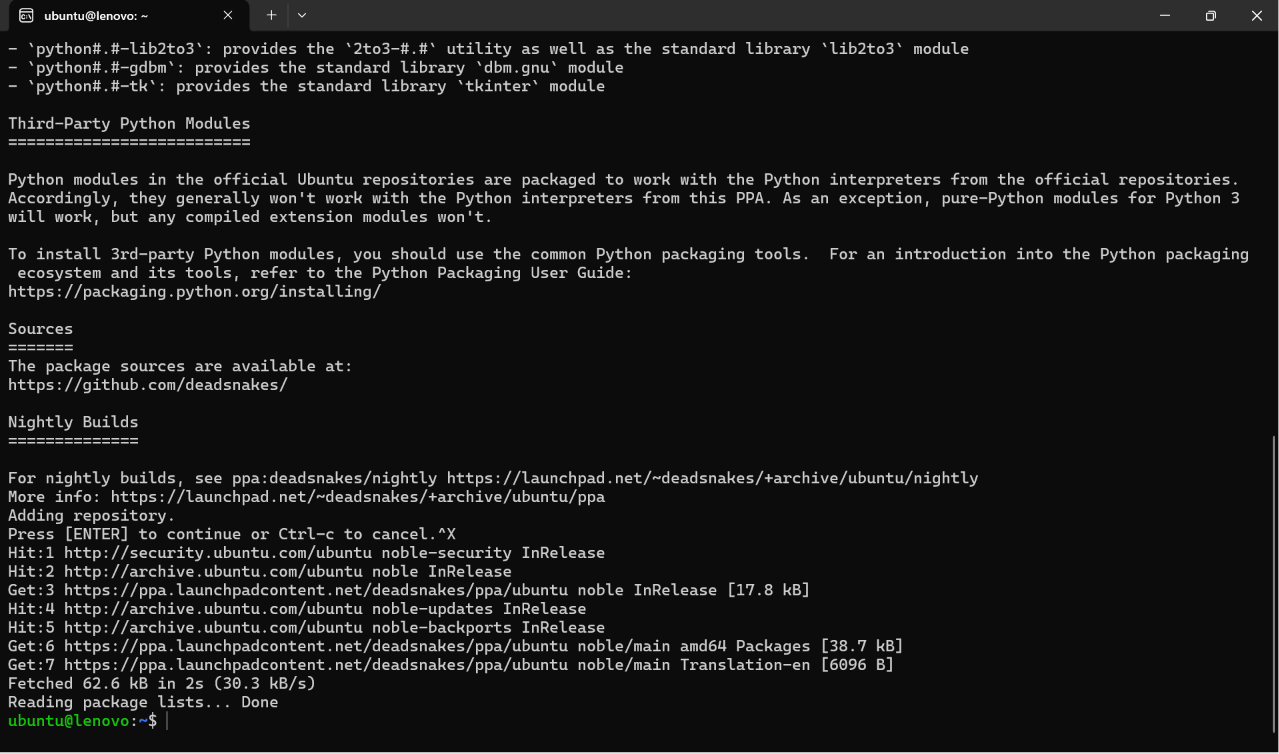
4.1 Add Python Repository
sudo add-apt-repository ppa:deadsnakes/ppaPress Enter when prompted to confirm adding the repository.
sudo apt update4.2 Install Python 3.14
sudo apt install -y python3.14 python3.14-venv python3.14-dev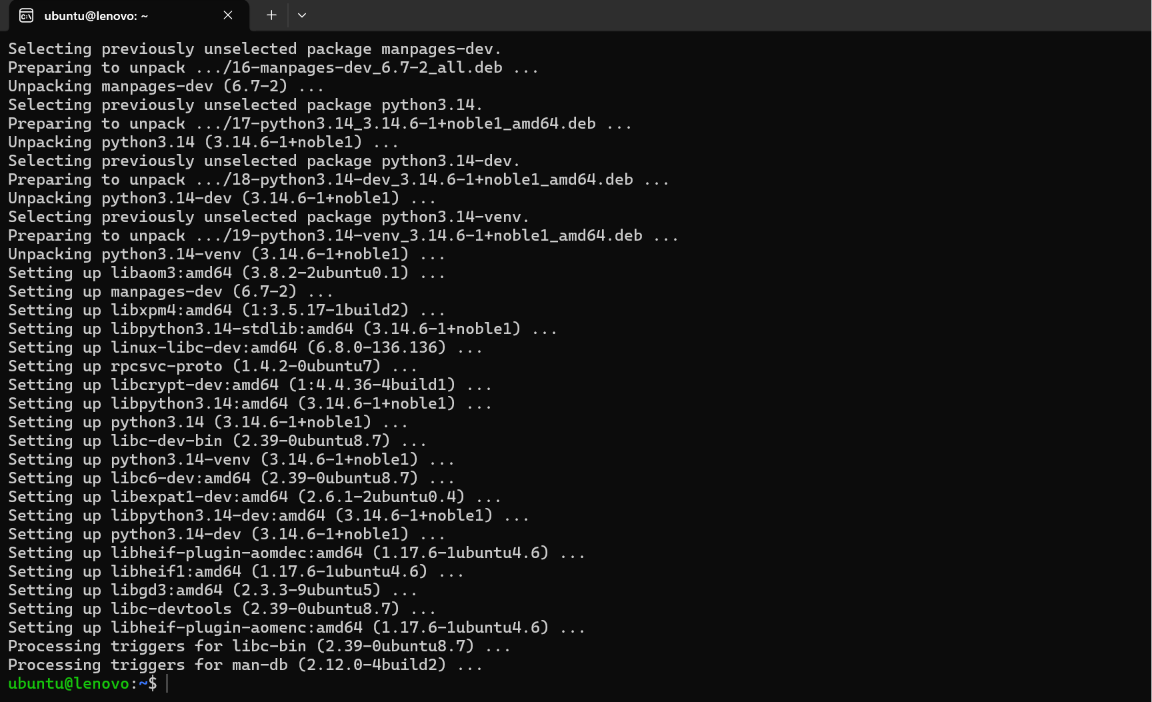
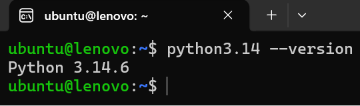
4.3 Verify Python
python3.14 --versionExpected: Python 3.14.x
Install Essential Dependencies
These packages are required for building and running Frappe. They include Git, Python tools, C compilers, and database development libraries that Frappe's Python packages need to compile correctly.
sudo apt install -y git python3-dev python3-pip python3-venv python3-setuptools build-essential curl wget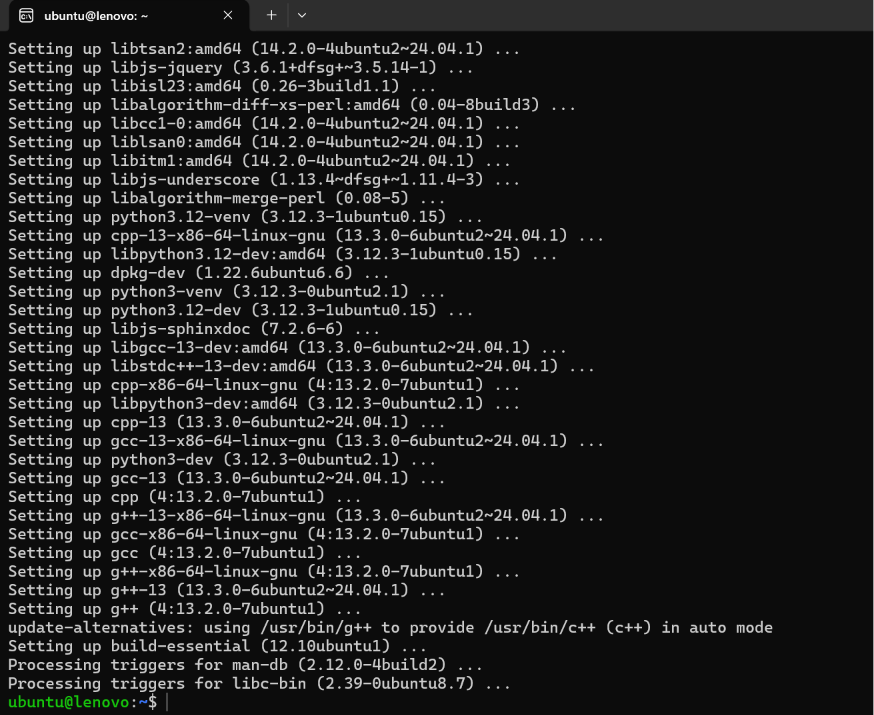
sudo apt install -y libmariadb-dev libffi-dev libssl-dev pkg-config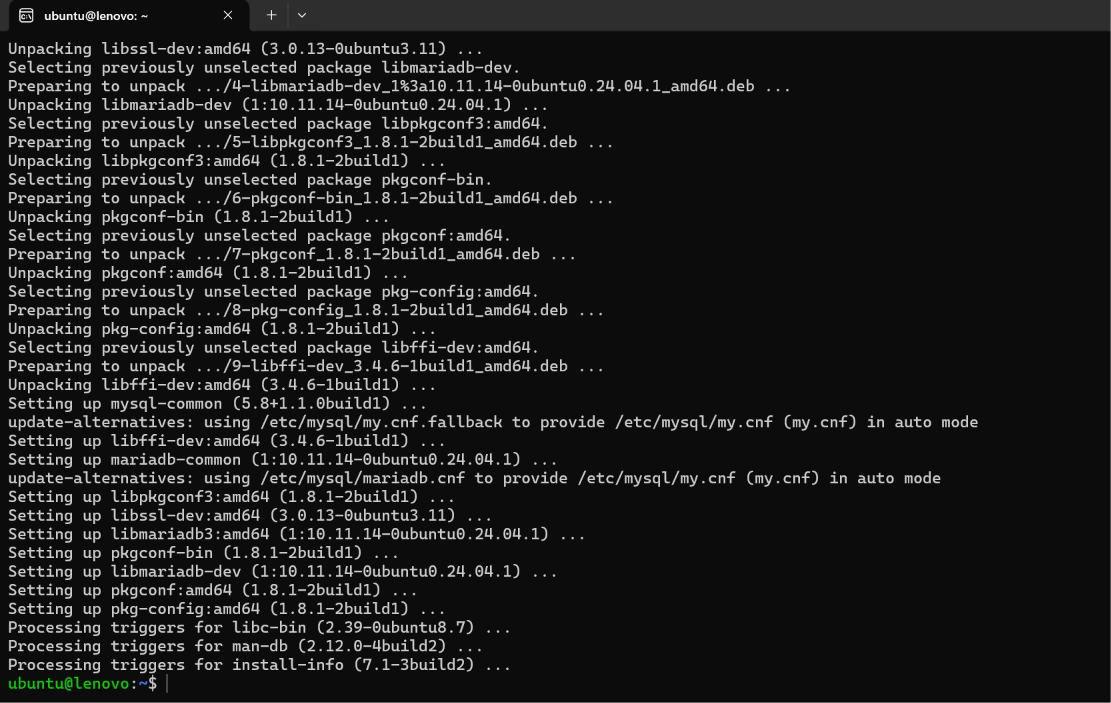
Install Node.js 24 and Yarn
Frappe v16 requires Node.js 24 for building frontend assets. We use NVM (Node Version Manager) to install Node.js - this makes it easy to switch between Node versions if needed.
6.1 Install NVM
curl https://raw.githubusercontent.com/creationix/nvm/master/install.sh | bash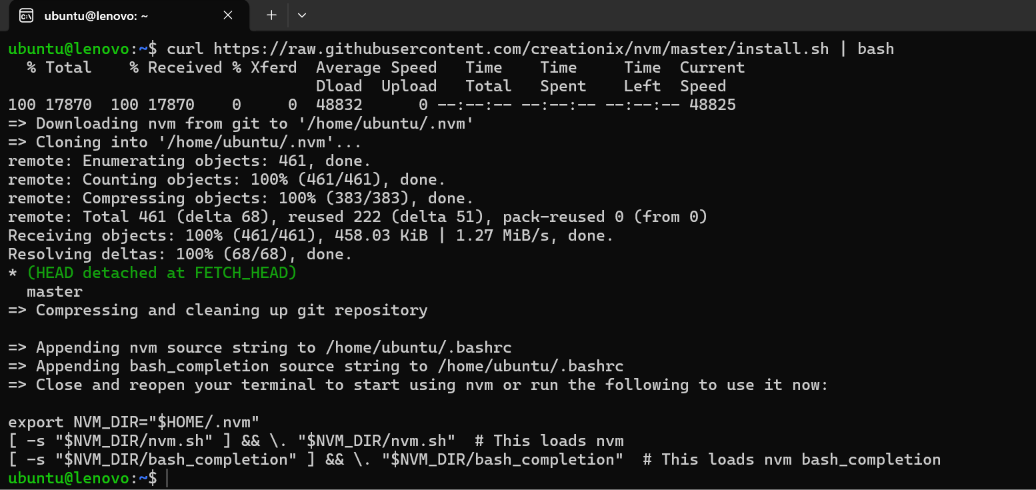
6.2 Reload Shell
After NVM installs, reload the shell so the nvm command becomes available:
source ~/.bashrc6.3 Install Node.js 24
nvm install 24
6.4 Install Yarn
Yarn is a JavaScript package manager used by Frappe to install frontend dependencies:
npm install -g yarn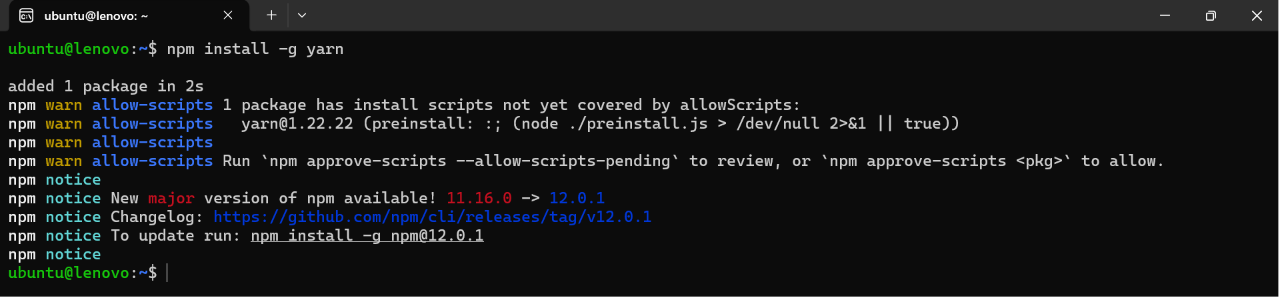
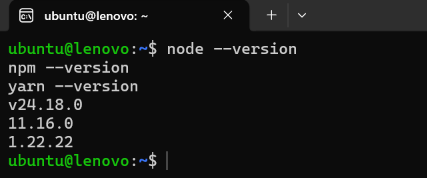
6.5 Verify Versions
node --version
npm --version
yarn --versionExpected: v24.x.x / 11.x.x / 1.x.x
Install and Configure MariaDB
MariaDB is the database used by Frappe and ERPNext to store all application data. We also need to configure it with the correct character set (utf8mb4) so Frappe can store multi-language content without errors.
7.1 Install MariaDB
sudo apt install -y mariadb-server mariadb-client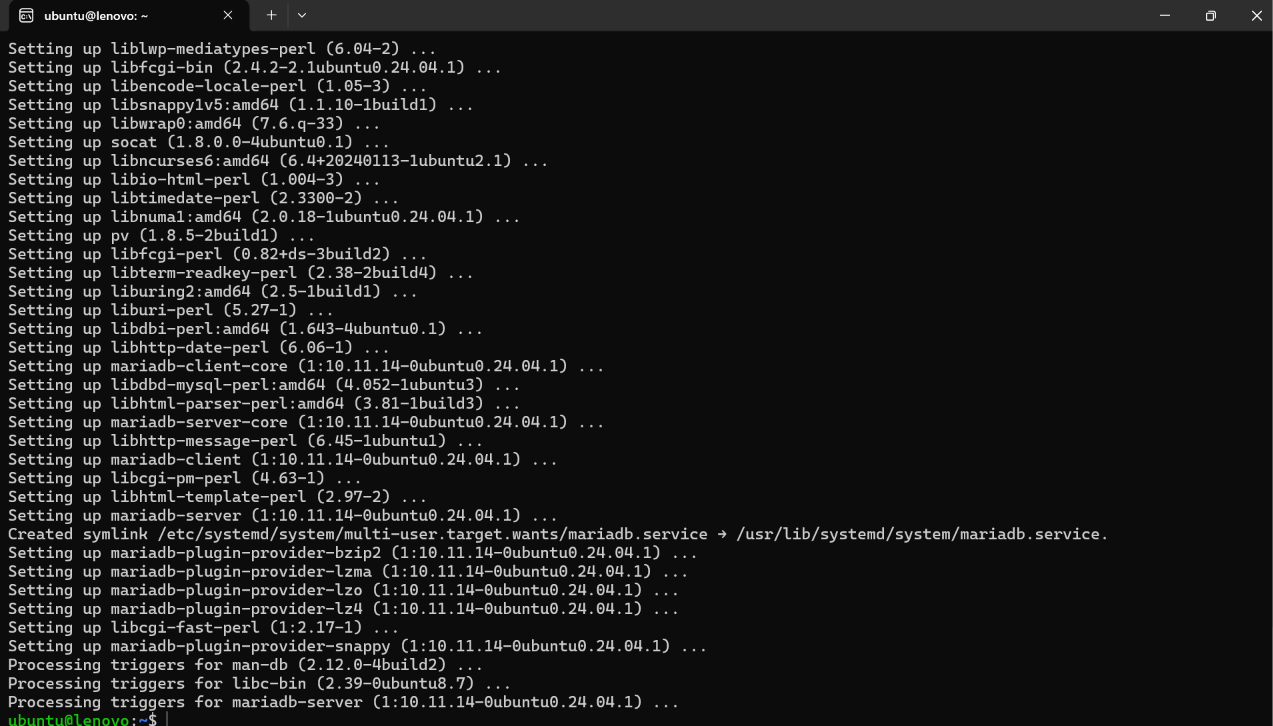
7.2 Start MariaDB
sudo service mysql startsudo service mysql start instead of systemctl - WSL does not support systemctl by default.7.3 Secure Installation
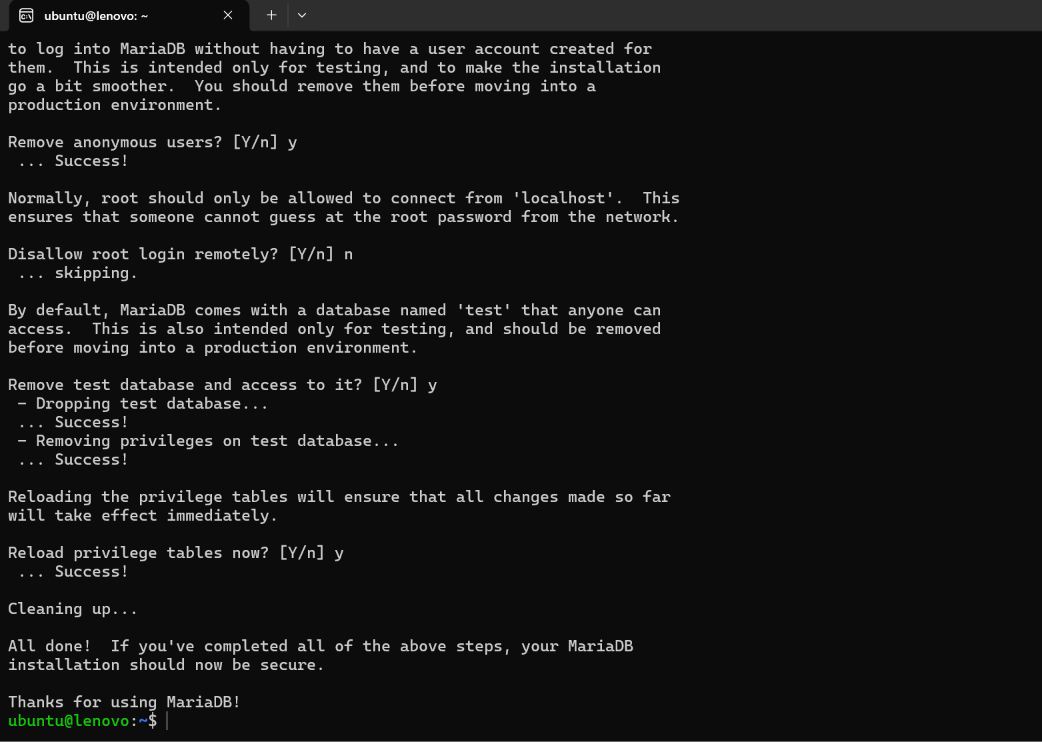
Run the security wizard to set a root password and remove insecure defaults:
sudo mysql_secure_installationAnswer the prompts as follows:
| Prompt | Answer |
|---|---|
| Enter current password for root | Press Enter (leave empty) |
| Switch to unix_socket authentication | Y |
| Change the root password | Y - set a strong password |
| Remove anonymous users | Y |
| Disallow root login remotely | N |
| Remove test database | Y |
| Reload privilege tables | Y |
7.4 Configure Character Set
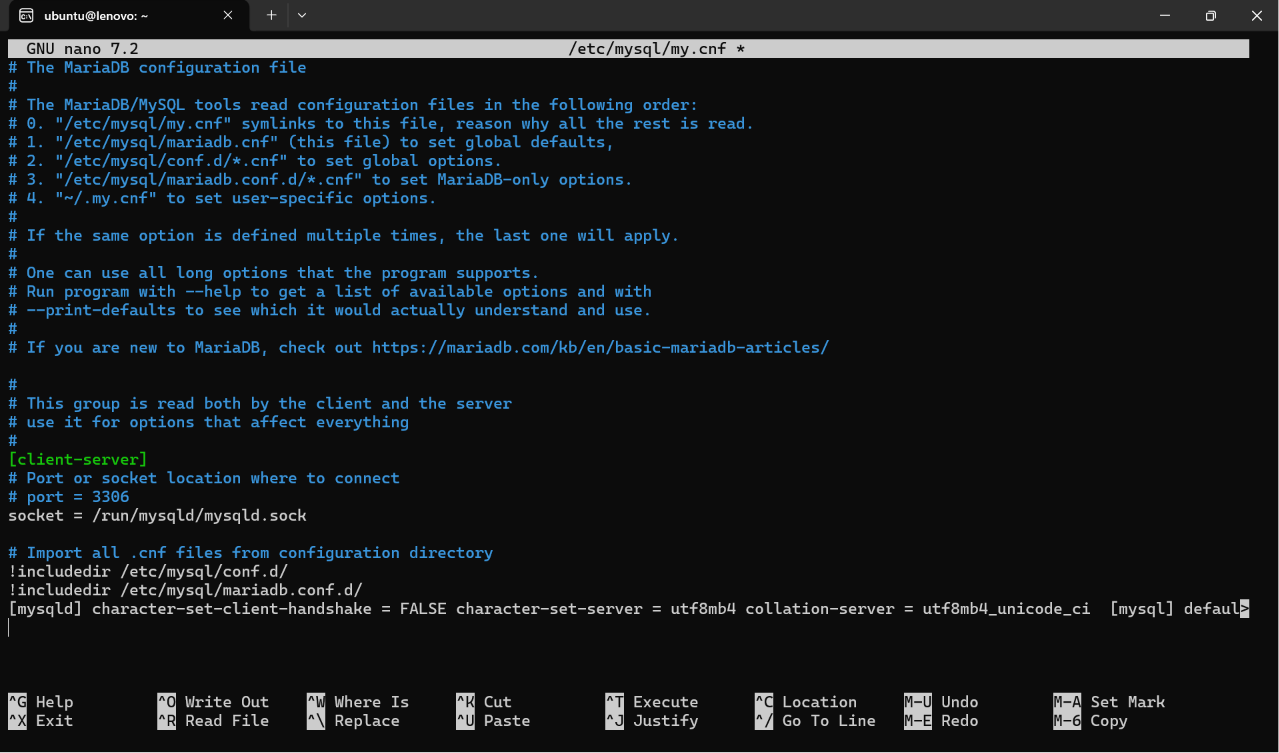
Open the MariaDB config file:
sudo nano /etc/mysql/my.cnfScroll to the very end of the file and add these lines:
[mysqld]
character-set-client-handshake = FALSE
character-set-server = utf8mb4
collation-server = utf8mb4_unicode_ci

[mysql]
default-character-set = utf8mb4Save: Ctrl+X then Y then Enter
7.5 Restart MariaDB
sudo service mysql restartInstall Redis
Redis is an in-memory data store used by Frappe for caching, background job queuing, and real-time updates. It is required for Frappe to run.
sudo apt install -y redis-server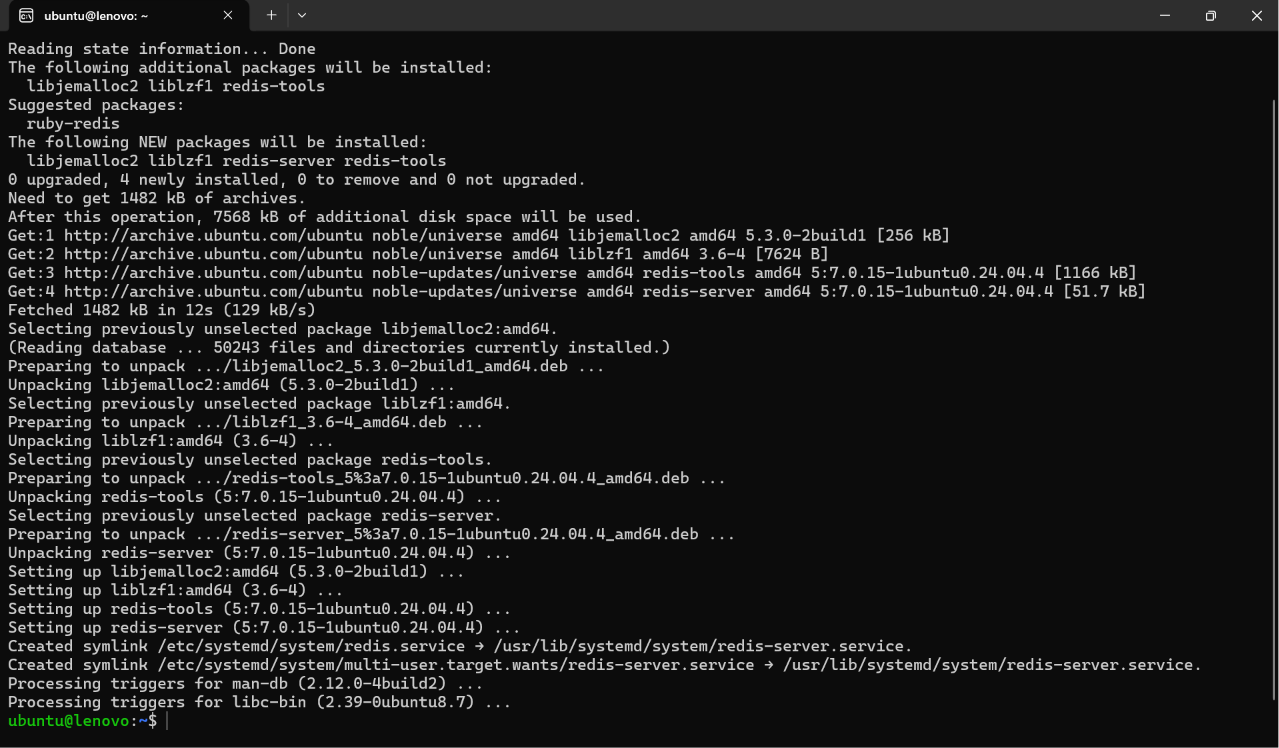
sudo service redis-server startsudo service redis-server start instead of systemctl in WSL.Install Frappe Bench
Bench is Frappe's command-line tool that manages your development environment - it creates sites, installs apps, starts servers, and more. We install it using pipx, which keeps it isolated from the system Python.
9.1 Install pipx
sudo apt install pipx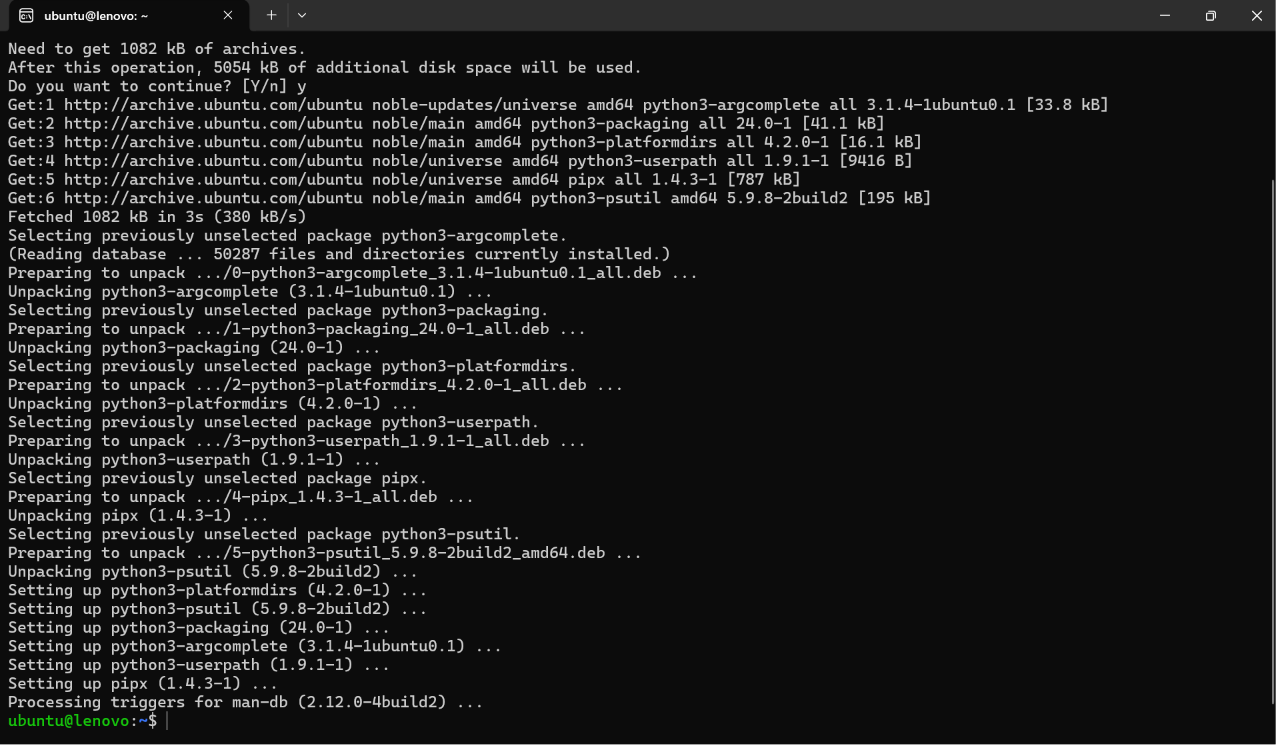
pipx ensurepath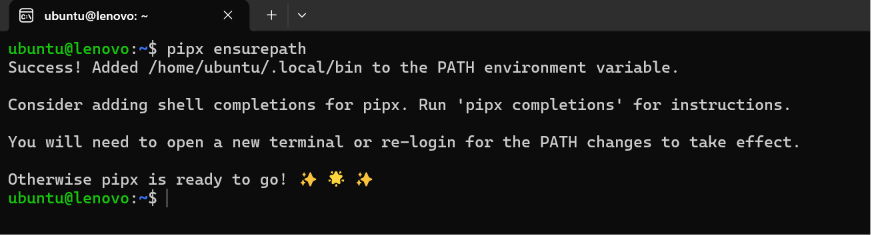
9.2 Install uv
uv is a fast Python package installer required by the latest version of Bench to set up virtual environments:
pipx install uv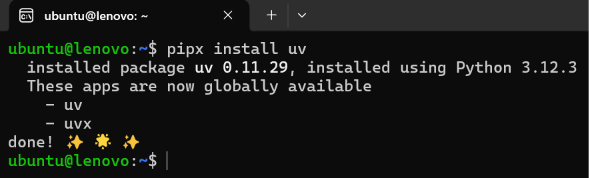
9.3 Reload Shell
source ~/.bashrc9.4 Install Bench
pipx install frappe-bench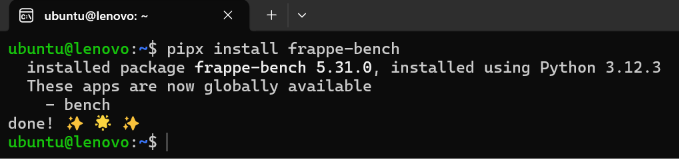
9.5 Verify Bench
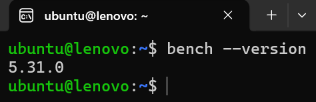
bench --versionExpected: 5.x.x
Initialize Frappe Bench
Now we create a Frappe Bench - a directory that contains the Frappe framework, all installed apps, and your sites. This command downloads Frappe v16 from GitHub and sets up the Python virtual environment.
10.1 Create Bench
cd ~bench init --frappe-branch version-16 --python python3.14 frappe-bench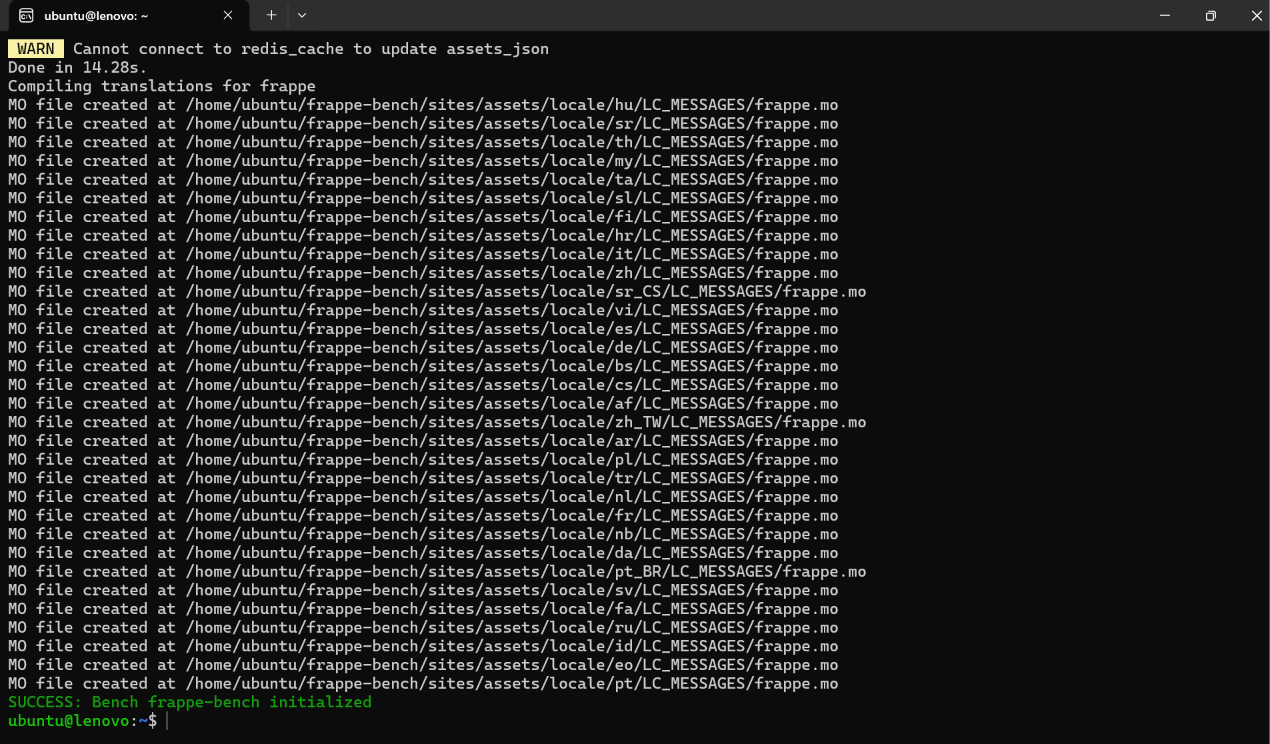
10.2 Go into Bench Folder
cd frappe-benchCreate a New Site
A Frappe site is a single instance of your web application with its own database. You can have multiple sites in one bench. First, make sure your services are running.
11.1 Start Services
sudo service mysql start
sudo service redis-server start11.2 Create Site
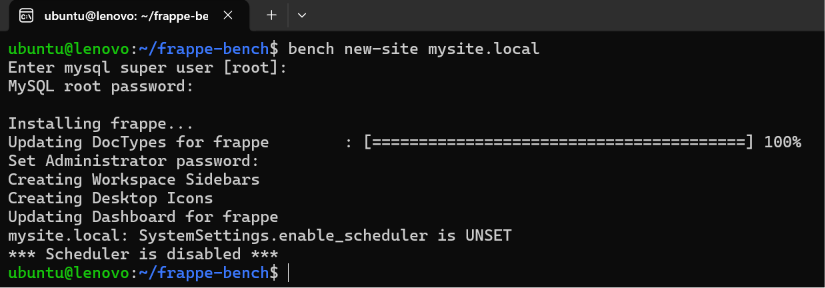
bench new-site mysite.localYou will be asked for:
- MySQL root password (set in Step 7.3)
- Admin password. Remember this for login
11.3 Get ERPNext App
Now download the ERPNext app from GitHub:
bench get-app --branch version-16 erpnext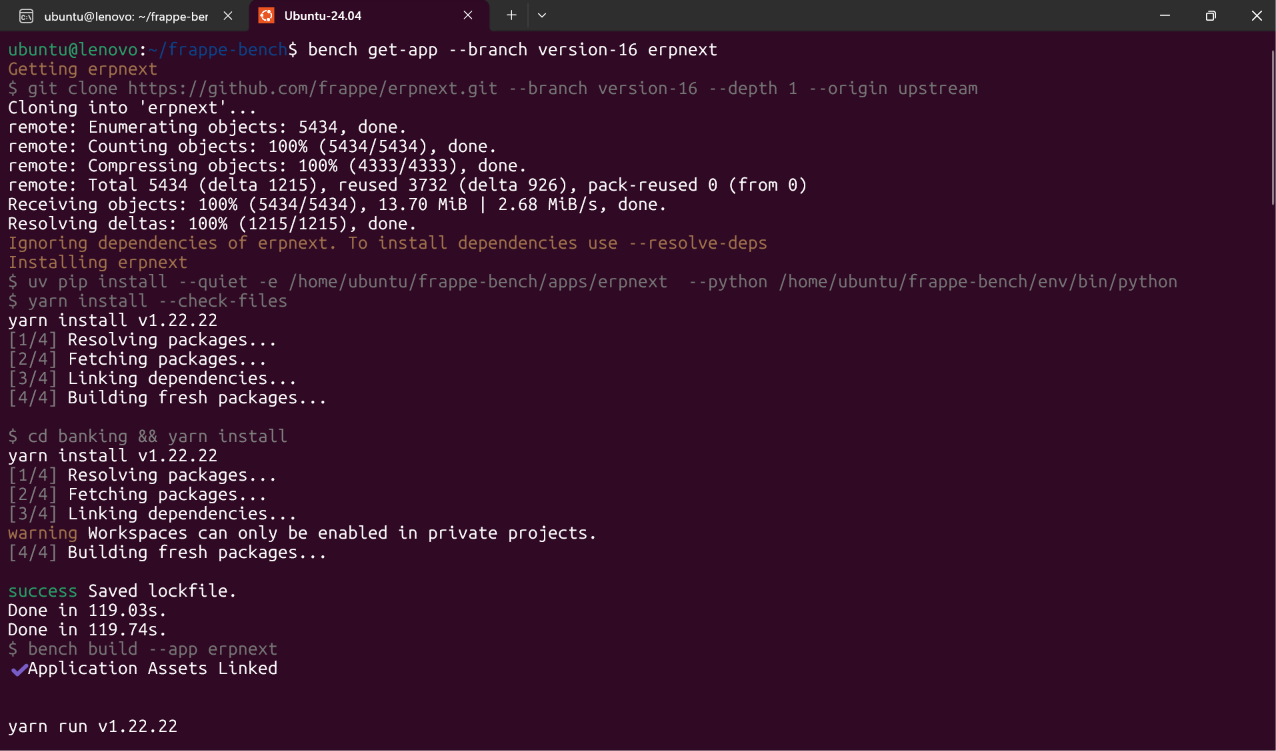
11.4 Install ERPNext on Site
bench --site mysite.local install-app erpnext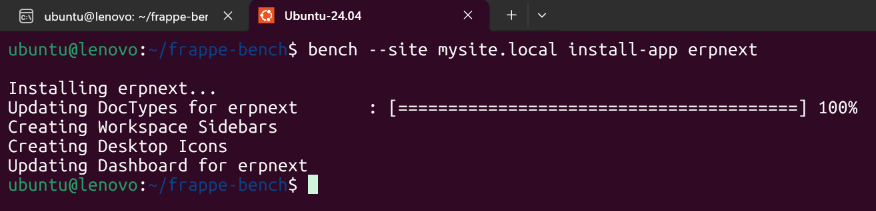
Start Frappe Server
Everything is set up! Now start the Frappe development server. Make sure you are inside the frappe-bench folder before running this command.
bench start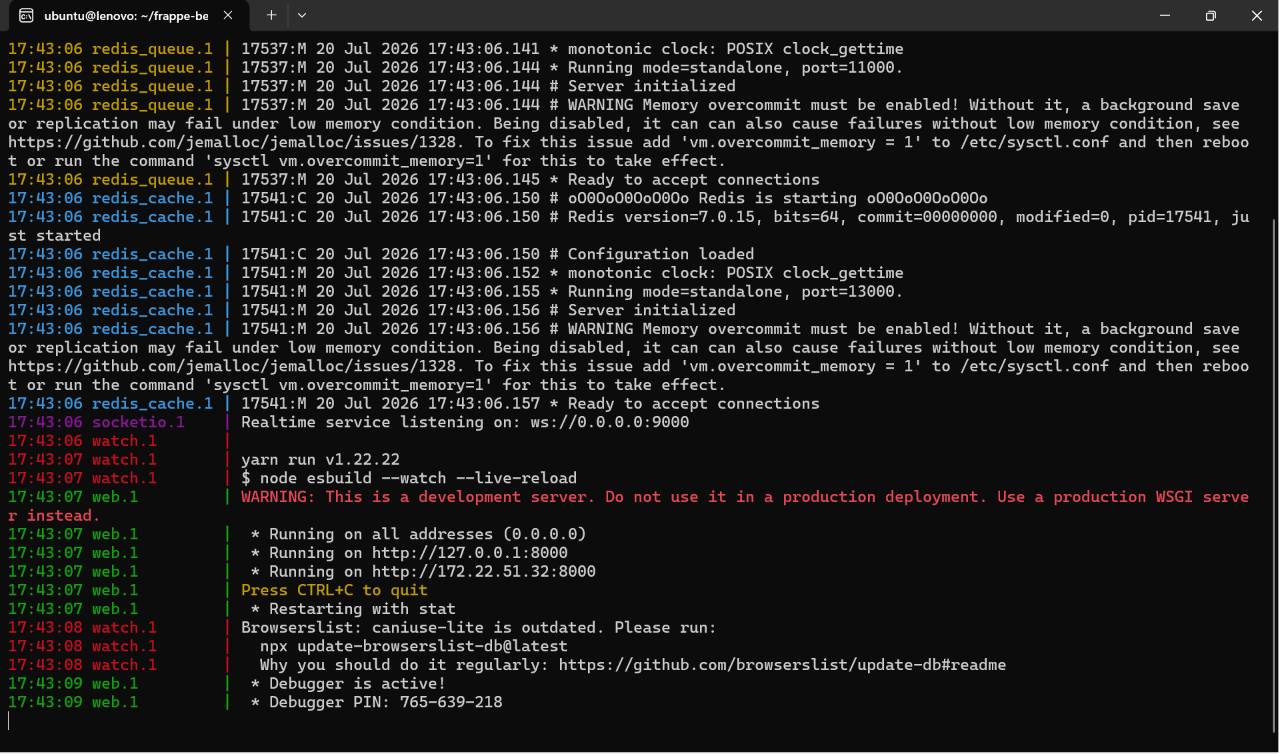
Open your Windows browser and go to:
http://localhost:8000Login with:
- Username:
Administrator - Password: admin password set in Step 11.2